THE PROCESS
1
Research
For the research phase of the project I used the following methods: Online Survey & Benchmarking.
Survey
I sent out 1 Survey that was completed by 41 people (in a real world project I would have aimed to get over 100 responses)
I used Survey Monkey for the form which consisted of 10 questions. To the get the maximum response, I outlined that there were just 10 questions and it would only take 2 minutes. I used a mixture of open ended and closed questions.
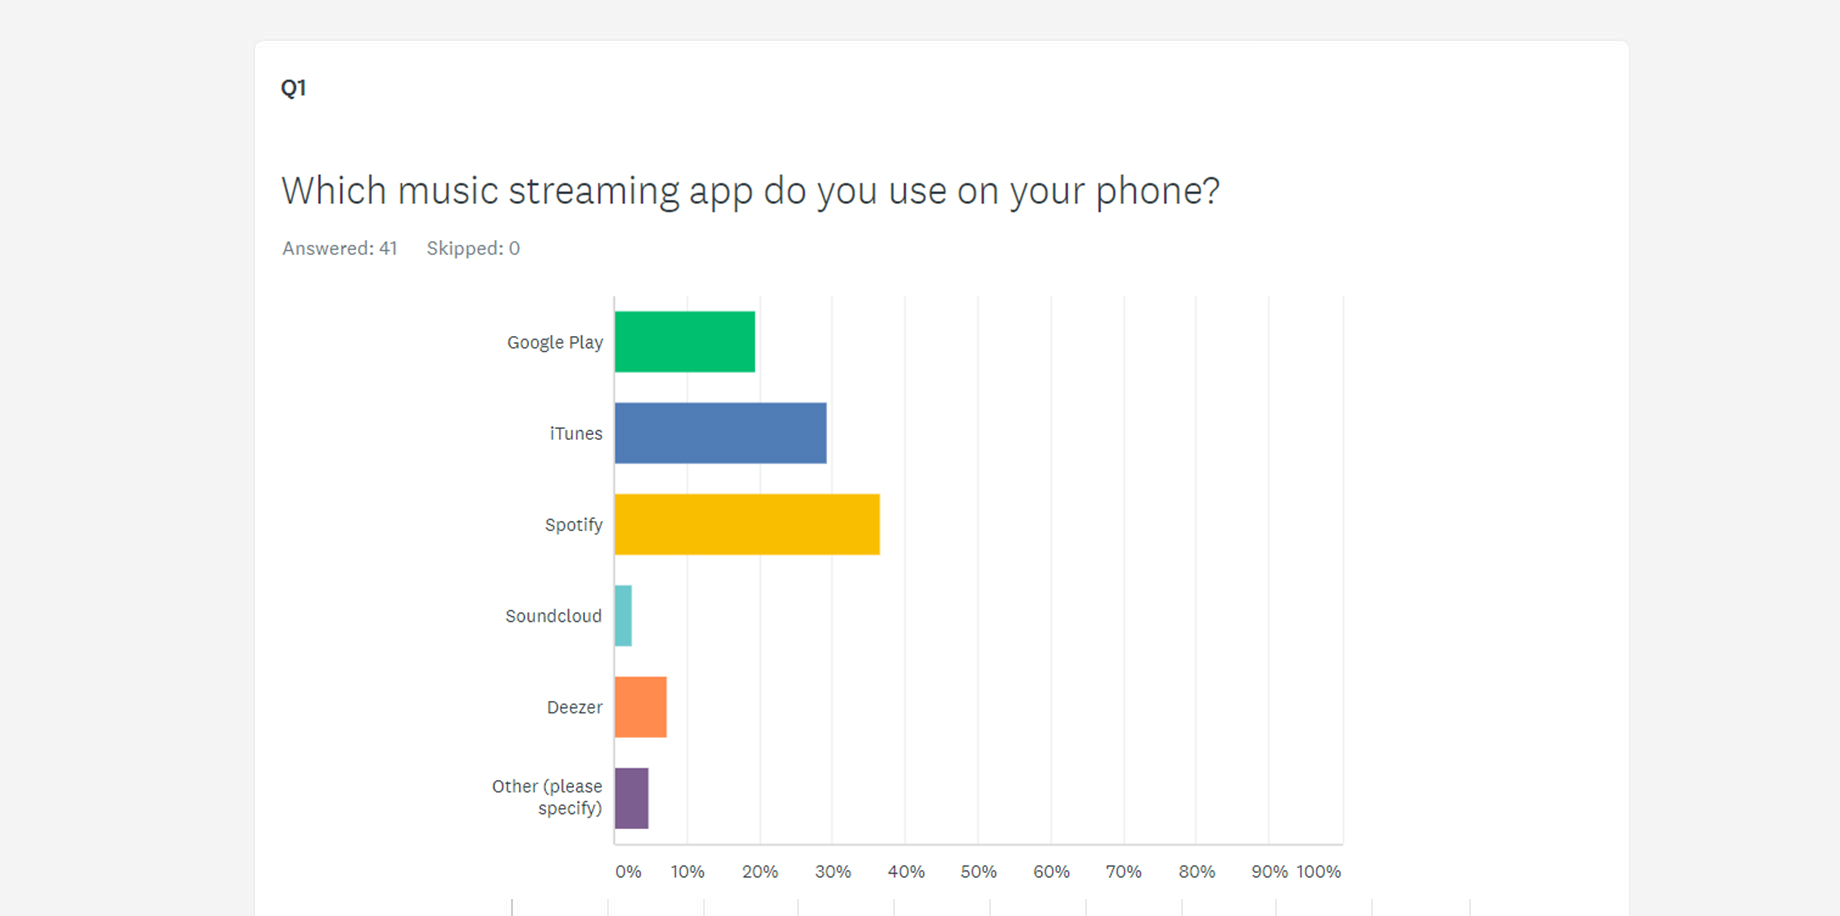
The survey revealed that the primary motivation for choosing a music streaming app was ease of use and the fact that it came pre-installed on their phones. One of the main improvements users would look for is to make the Interface more user friendly and less bloated.
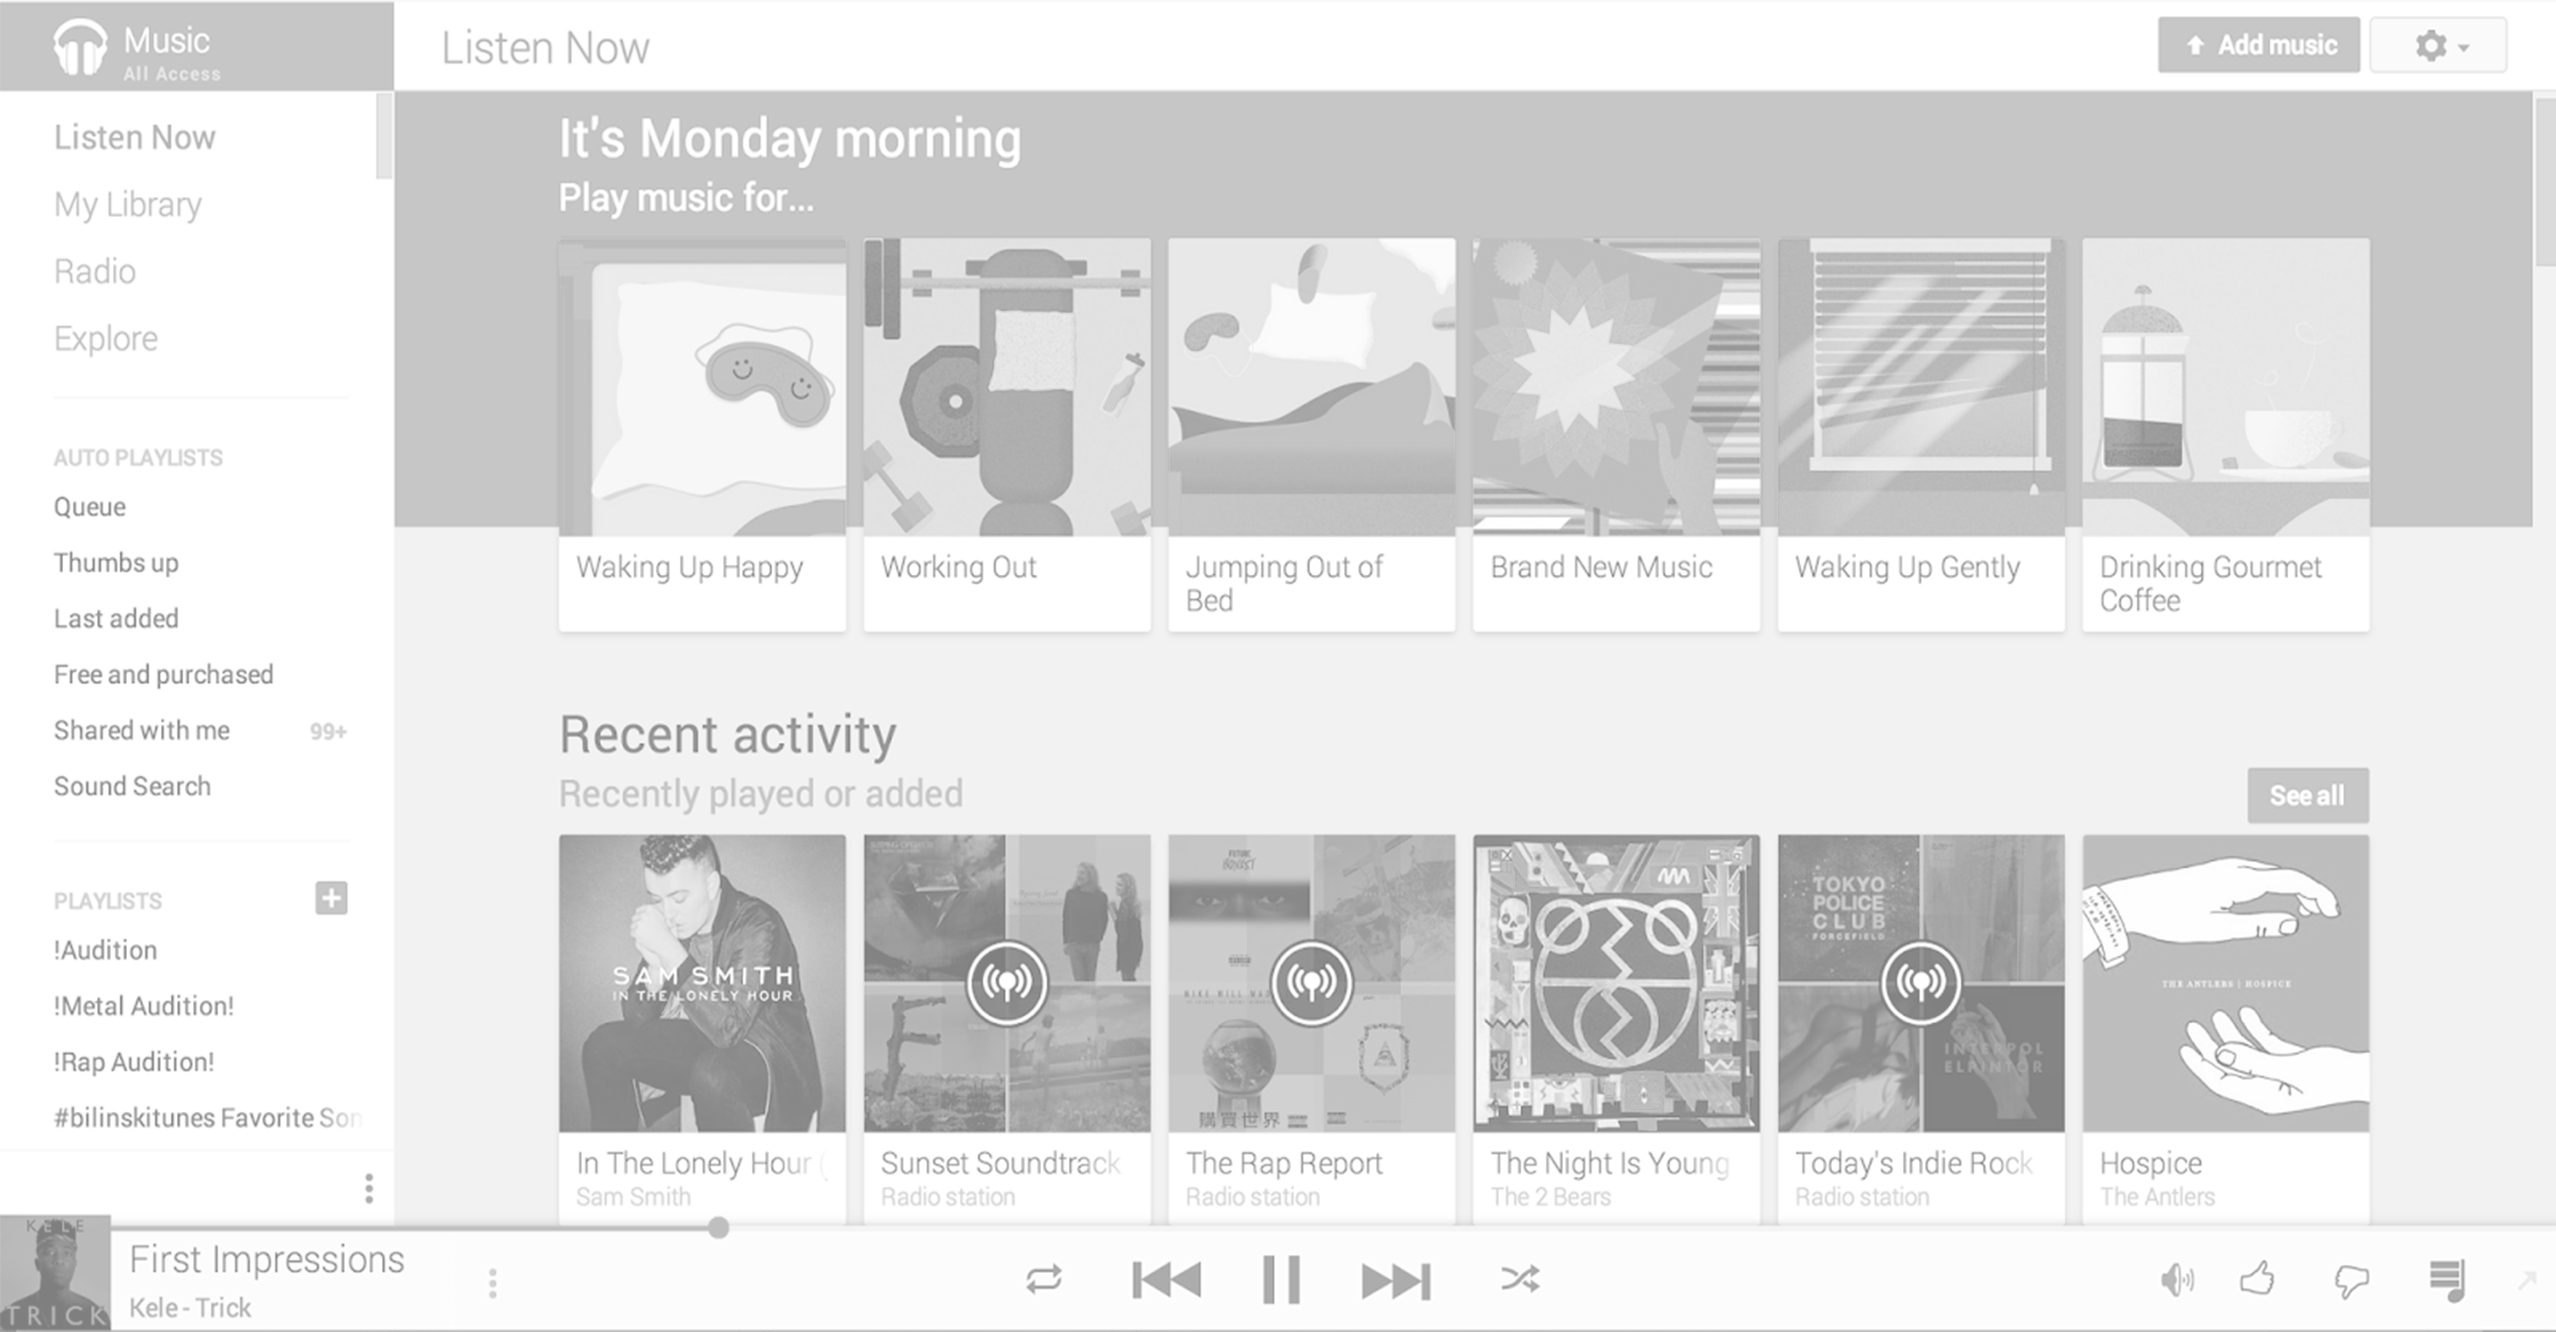
Competitive Benchmarking
During the Competitive Benchmarking phase I reviewed five msuic streaming apps and benchmarked them to learn what they are doing well and not so well so that I could emulate them in the right places and avoid the pitfalls I discovered. My main objectives here were were to:
- Learn how other music streaming apps solve the problem we are trying to solve
- Understand the conventions we should follow
- Highlight best practice that we should emulate
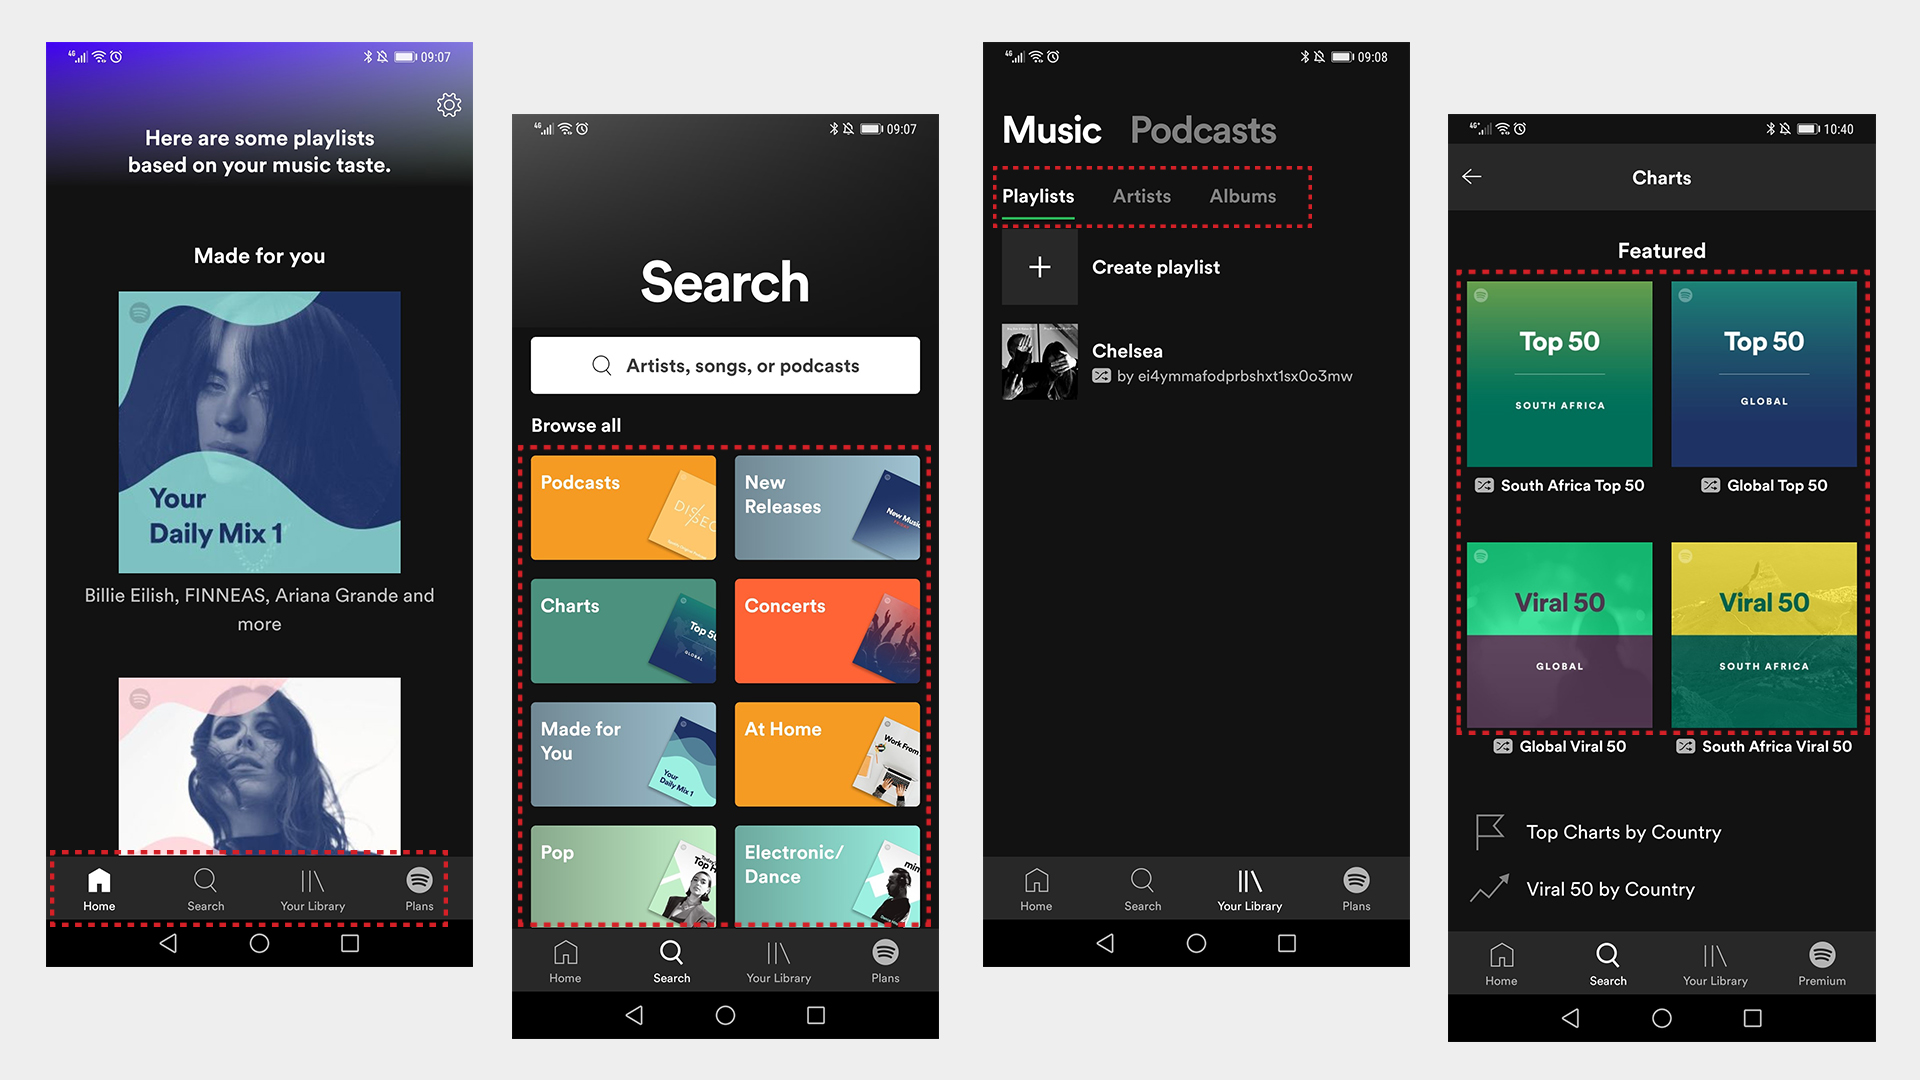 Spotify analysis